Release Notes 2026
September 2026
August 2026
July Release 2026
June Release 2026
May 2026
April 2026
March 2026
February 2026
Frequently Asked Questions!
How do I access field level help?
How do I see descriptions of codes in enquiry screens?
How do I make a user have read only access
Can I copy and delete lines in data entry screens?
Out of Office
Can I run a report to view security groups against my users?
How do I stop a user posting to prior and future periods?
Delete a payment run
Changing security access to a user
User setup requires multiple screens and is complicated!
De-allocate an AP Payment
How to stop over receipting of orders
Why has my transaction not appeared on the AP Payment run?
Download Templates
Useful information to include when raising Financials cases
Prevent users posting to specific balance classes
Hints and Tips!
General Ledger - Helpful how-to guides
General Ledger Data Entry
Journal Upload
Journal Entry, Copy and Authorise
Multi Level Authorisation
Modernisation Budget Upload
General Ledger Enquiries
GL Enquiries - Transaction Enquiries
GL Enquiries - Balance Sheet & Profit and Loss
GL Enquiries - Account Details
Trial Balance
Period and Year End Close
General Ledger Security
Accounts Payable - Helpful how-to guides
Accounts Payable Supplier File
Accounts Payable Data Entry
Log and Invoice/Credit note
Enter a logged Invoice
Enter a non order related Invoice
Order Related Invoice
Order Related Invoices with Mismatches
Order Related Invoice - Mismatch Scenarios
Mismatch Types
Invoice and Credit Note Matching
Accounts Payable Enquiries
Accounts Payable Transaction Maintenance
Accounts Payable Payment Processing
Accounts Payable Code Tables
Accounts Payable Reports
Accounts Receivable - Helpful how-to guides
Customer Maintenance
Enquiries
Cash Allocation
Data Entry & Contracts
Student Sponsor - Education sector
Credit Control
Credit Control Overview
Customer Statements
Diary Notes
Query Management
Interest Charges
Dunning Process
Credit Control Diary
Reporting within Financials
Student Sponsor - Education Sector
Purchasing Management - Helpful how-to guides
Fixed Assets - Helpful how-to guides
Prompt File - Asset Creation
Join Prompt File Items
Fixed Assets Period End & Depreciation
Revaluation
Disposals
Relife
Reconciliation process - Helpful how-to guides
Daily Checks
Accounts Receivable Reconciliation Reporting
Accounts Payable Reconciliation Reporting
Fixed Assets Reconciliation Reporting
General Ledger Reconciliation Reporting
Purchasing Management Reconciliation Reporting
Reporting
General Ledger Reports
Accounts Payable Reports
Accounts Receivable Reports
Sales Invoicing Reports
Fixed Assets Reports
Bank Reconciliation Reports
Import Tool Kit
Procurement Portal
Procurement Portal new User Interface
Navigation
Requisitions
Orders
Authorisation
Receiver
Invoice Clearance
Portal Administration
Procurement Portal - Teams Setup
Invoice Manager
Purchase Invoice Automation (PIA)
February Release notes
March Release Update
January 2026 Release notes
Deleting Supplier training data
Password Reset in Smart-Capture
Adding a New User - Smart Workflow
Resetting password - Smart Workflow
Purchase Invoice Automation
Reprocessing Failed OCR Supplier Invoices
How to Create a New User in Smart-Capture
Smart Capture Email Configuration Overview
Configuring Smart Capture to use Gmail in the Web UI
Configuring Smart Capture to use Microsoft 365 (Graph API) in the Web UI
MAP Configuration Non-Microsoft and Non-Google Accounts
New User Interface
Flow Headstart Forms
Request a nominal
Request a customer
Request a Sales Invoice
Request a management code
Create a Pay Request
Request a Supplier
Bring Your Own BI (BYOBI)
Collaborative Planning
Financial Reporting Consolidation
Air Approvals
Registering Air Approvals
Air Approvals Administration – Create Mobile User
Air Approvals Administration – Reset User’s Activation Key
Reviewing Approvals
Disable/Enable a User
Delete a User
API
Release Notes 2025
December 2025
November 2025
October 2025
September 2025
August 2025
July 2025
June 2025
May 2025
April 2025
March 2025
February 2025
January 2025
Release Notes 2024
December 2024
November 2024
October 2024
September 2024
August 2024
July 2024
June 2024 Release
May 2024
April 2024
March 2024
February 2024
January 2024
Release Notes - Previous years
Contents
- All categories
- Flow Headstart Forms
- Request a Supplier
Request a Supplier
 Updated
by Caroline Buckland
Updated
by Caroline Buckland
Start Process Overview
Login to MyWorkplace and navigate to your desk.
Locate the Flow requests applet, depending on your access the App will look similar to the below.
This will give you a summary on any previous requests, select each option in turn to review more details.
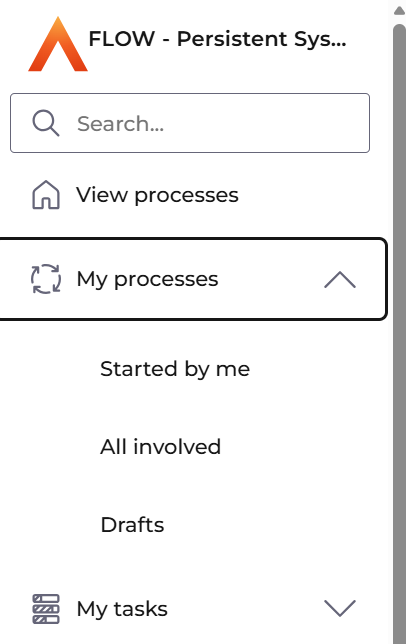
A summary of your processes is listed with the process name, description, Status and date. The filter can also be used to search against any of the fields.
Create a Supplier
Select the View Processes option.
Locate the Request a Supplier select the Start Process button.
The following screen is displayed, this will open in a separate web browser. Read the info tab before moving to the next step.
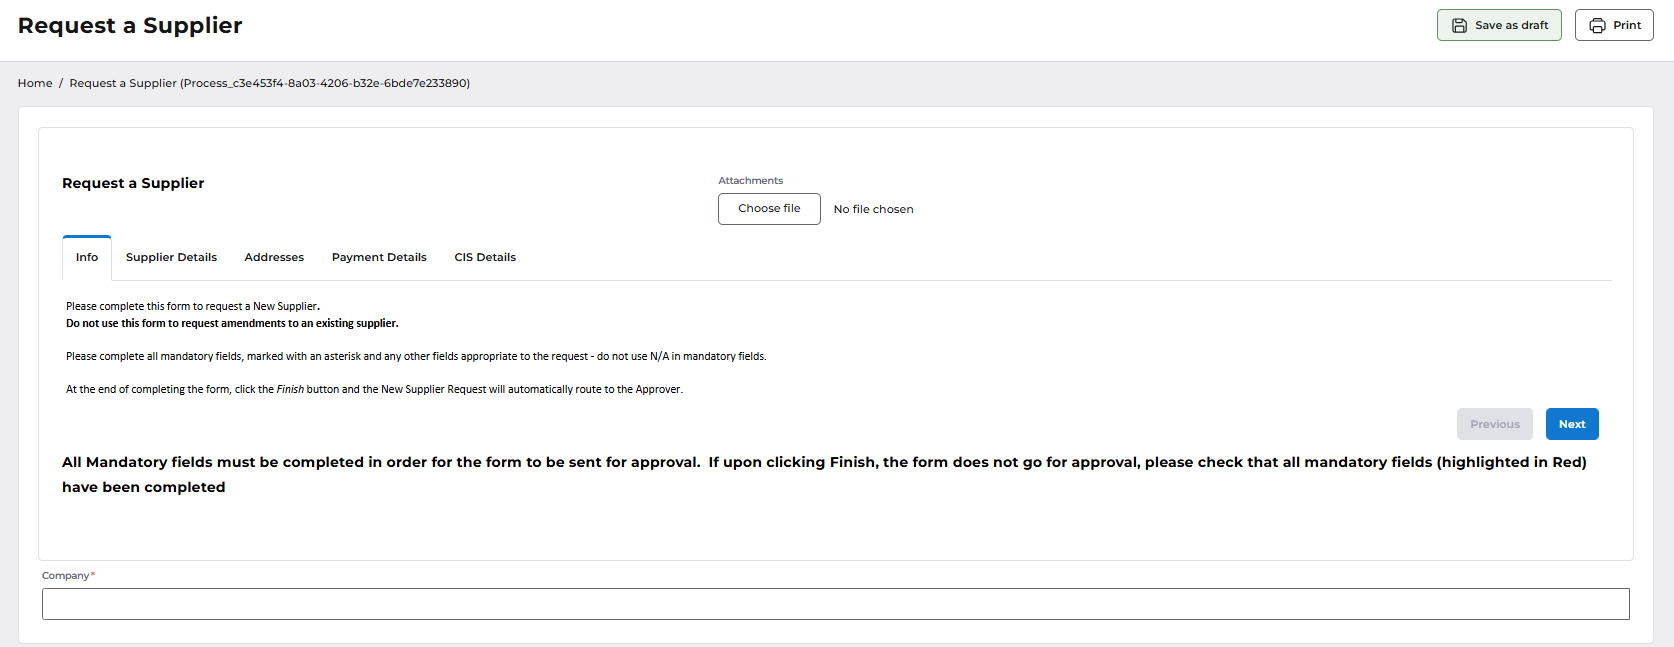
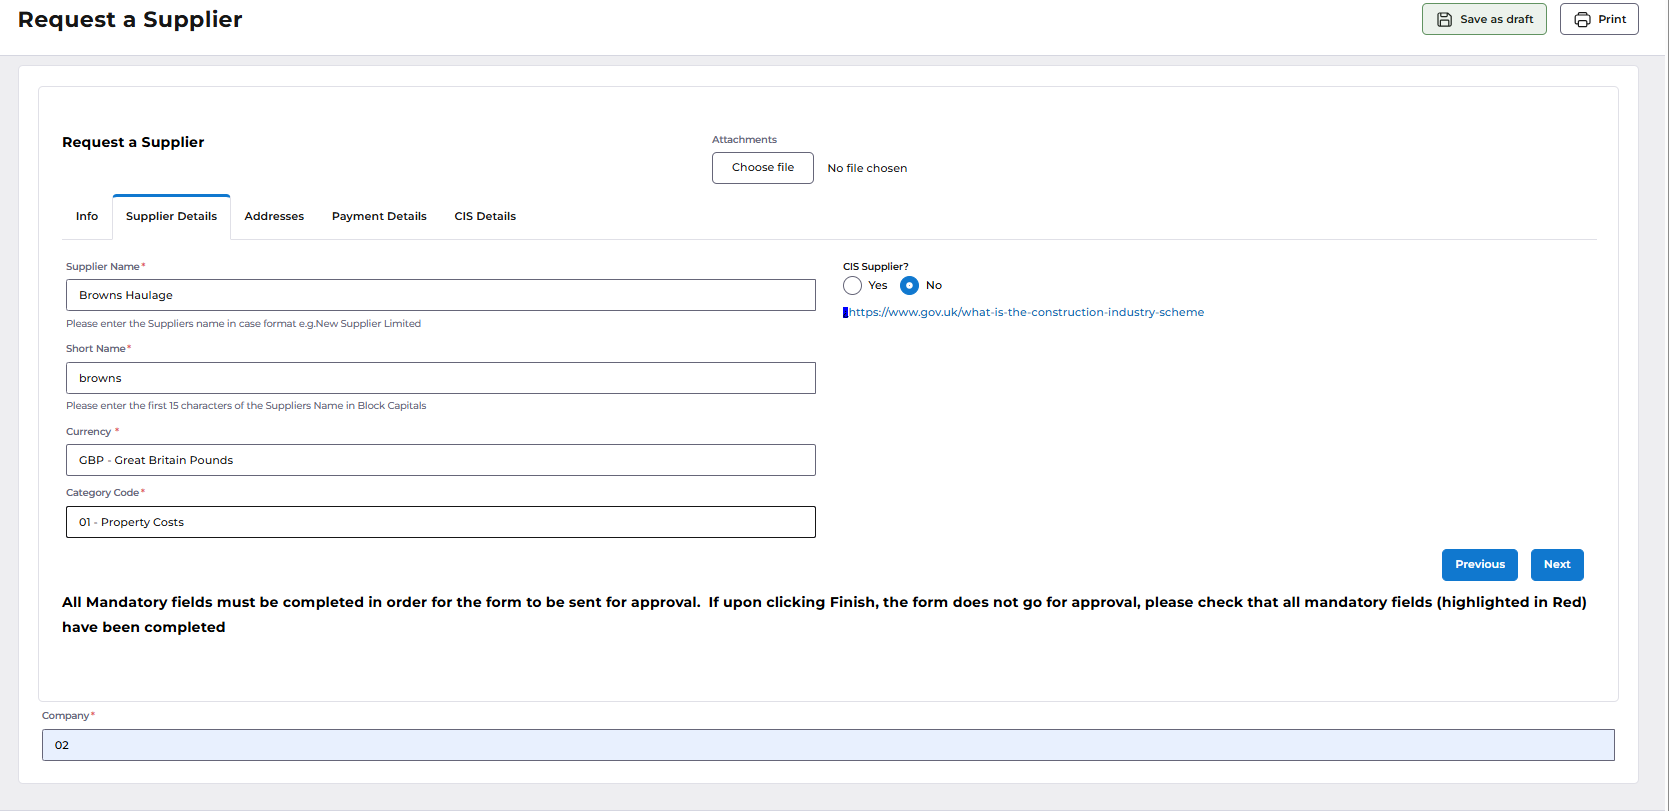
Click on the Next button or the Supplier Details tab. Enter all fields marked with a red Asterix.
- Supplier Name
- Short Name
- Currency
- Category Code
The currency code and category code can be selected from a drop-down menu, type the name or code to filter the list.
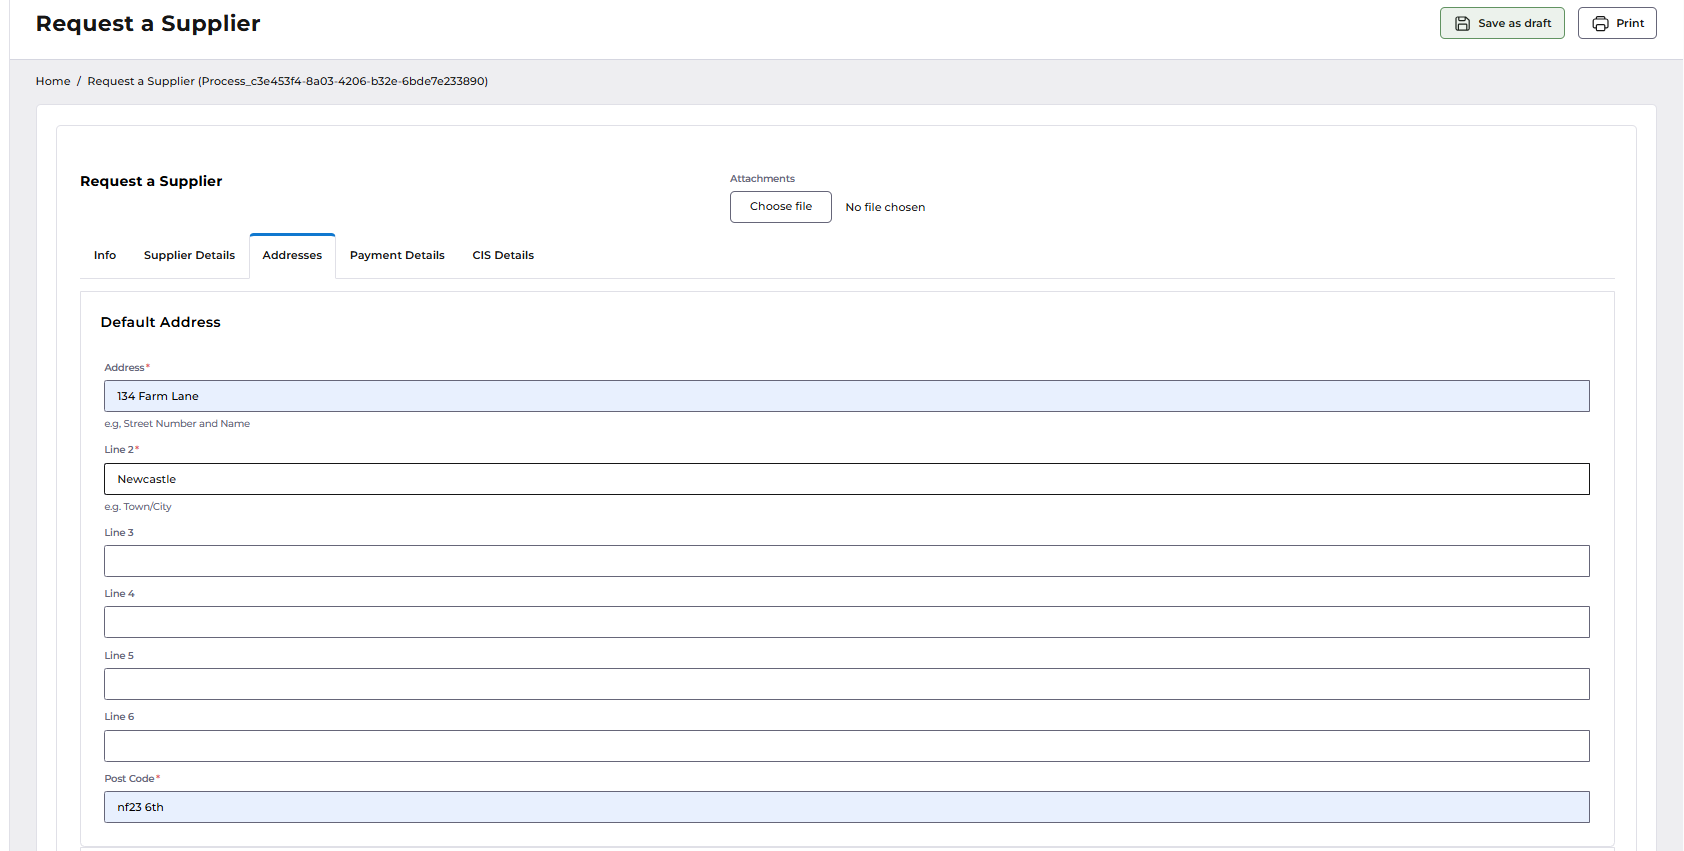
Access the next tab - Addresses.
The first address represents the Payment Address where the remittance advice will be emailed.
Contact Name and Phone number are optional.
The second address (Additional Address) represents the Order to which the purchase order will be emailed.
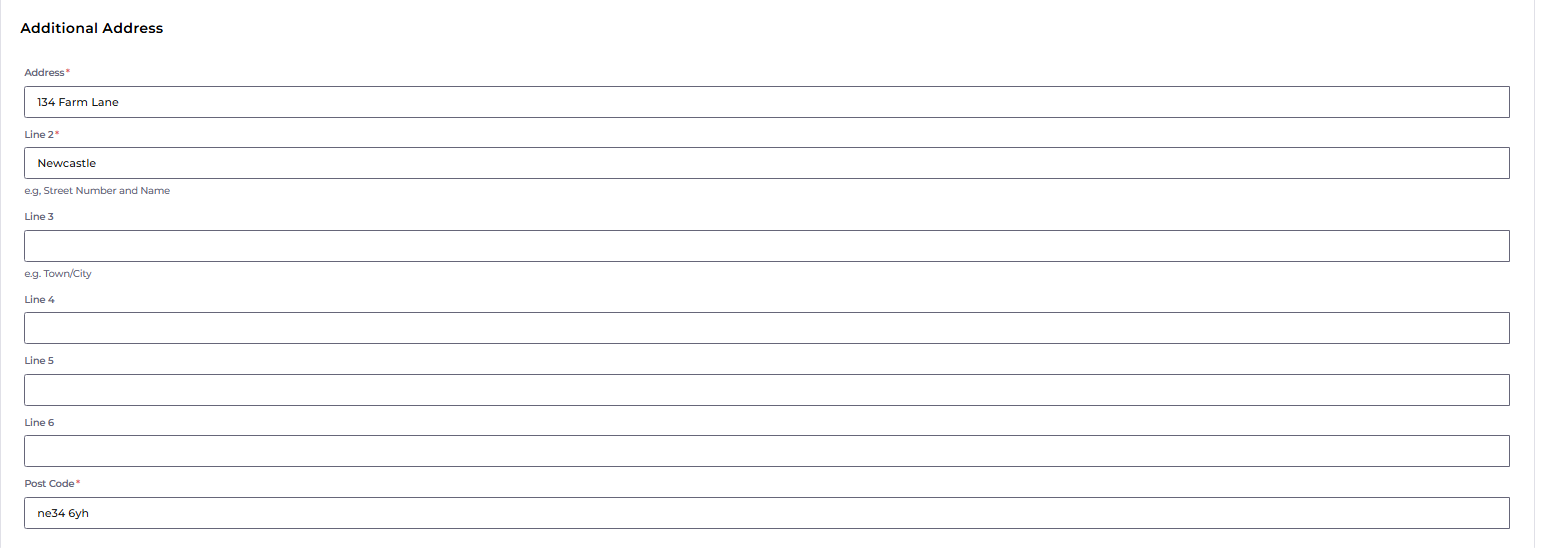
Post Codes are mandatory for both address lines.
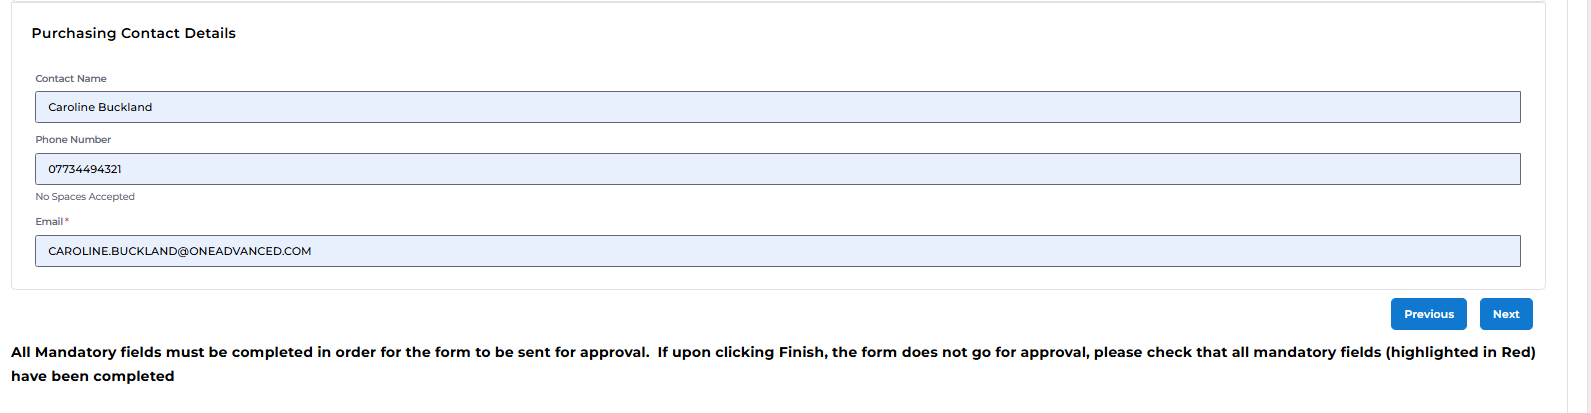
Enter Purchasing Contact Details.
Access the Payment Details tab and add in the Payment details, if you select BACS the sort code and Account will be mandatory, sort code is a predefined list to select from. The Payee name will default from the Name entered on the first tab if this is different enter the details here.
VAT Registration number is optional.
Settlement terms relates to when transactions will be calculated as due to be paid, a drop down of predefined codes will be displayed, type the name or code to filter the list.
Select Discount terms form the drop-down menu.
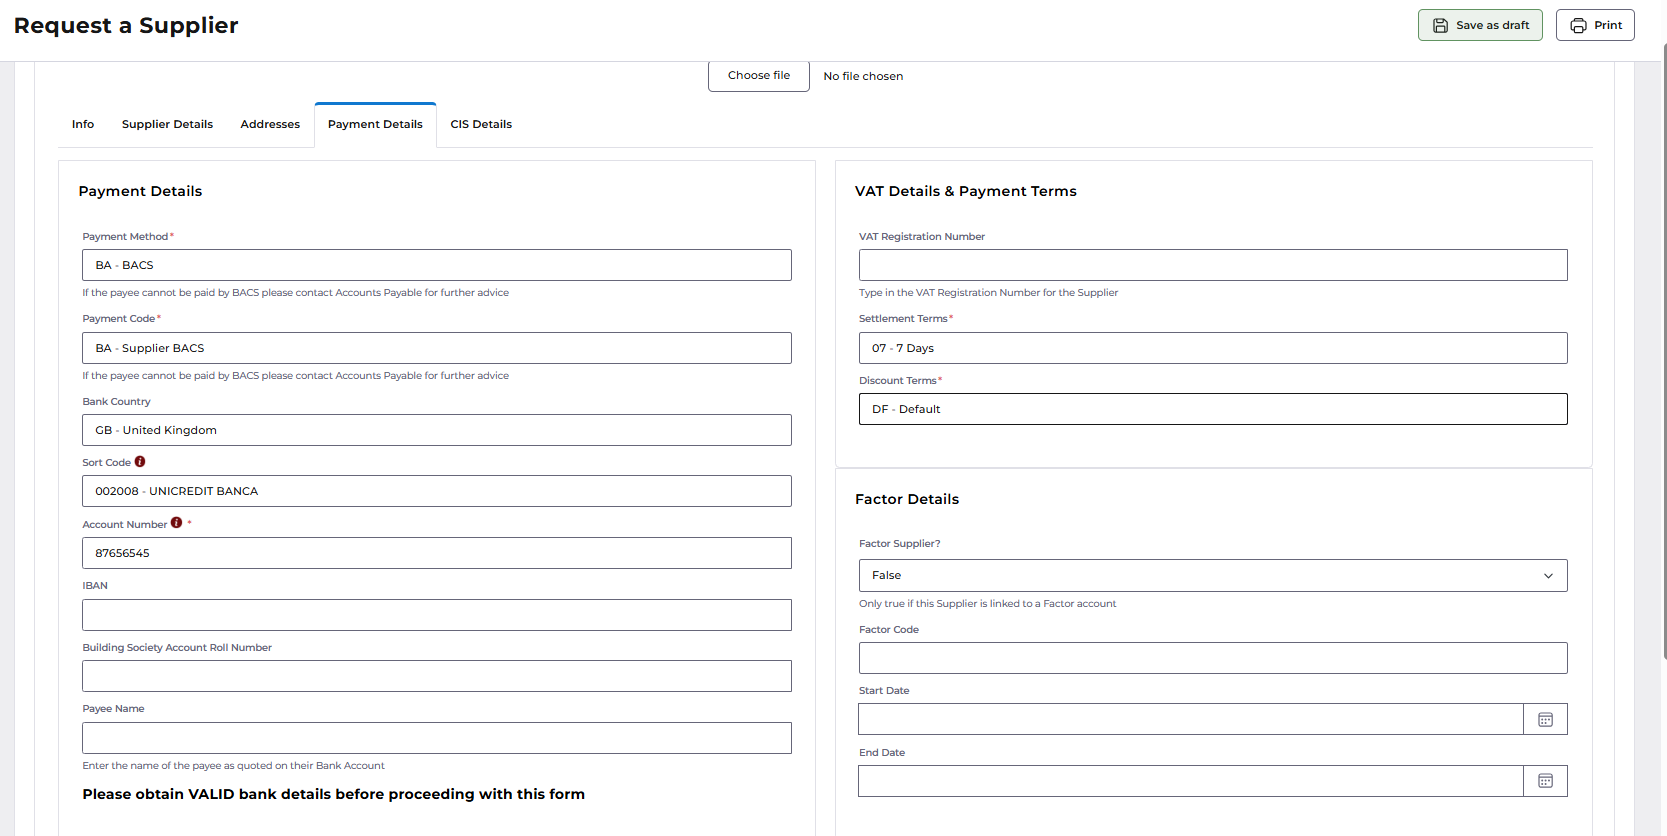
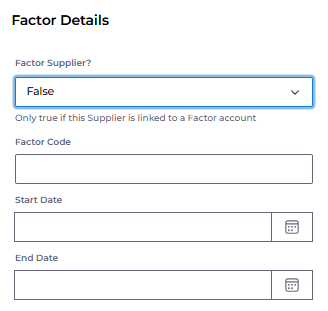
If the outstanding debt is collected by another company they must exist as a factor Supplier in Financials first, enter the code and from and to dates to when the agency is collecting the debt on behalf of the Supplier.
CIS - Optional
If the Supplier relates to the Construction Industry scheme, flag the field.
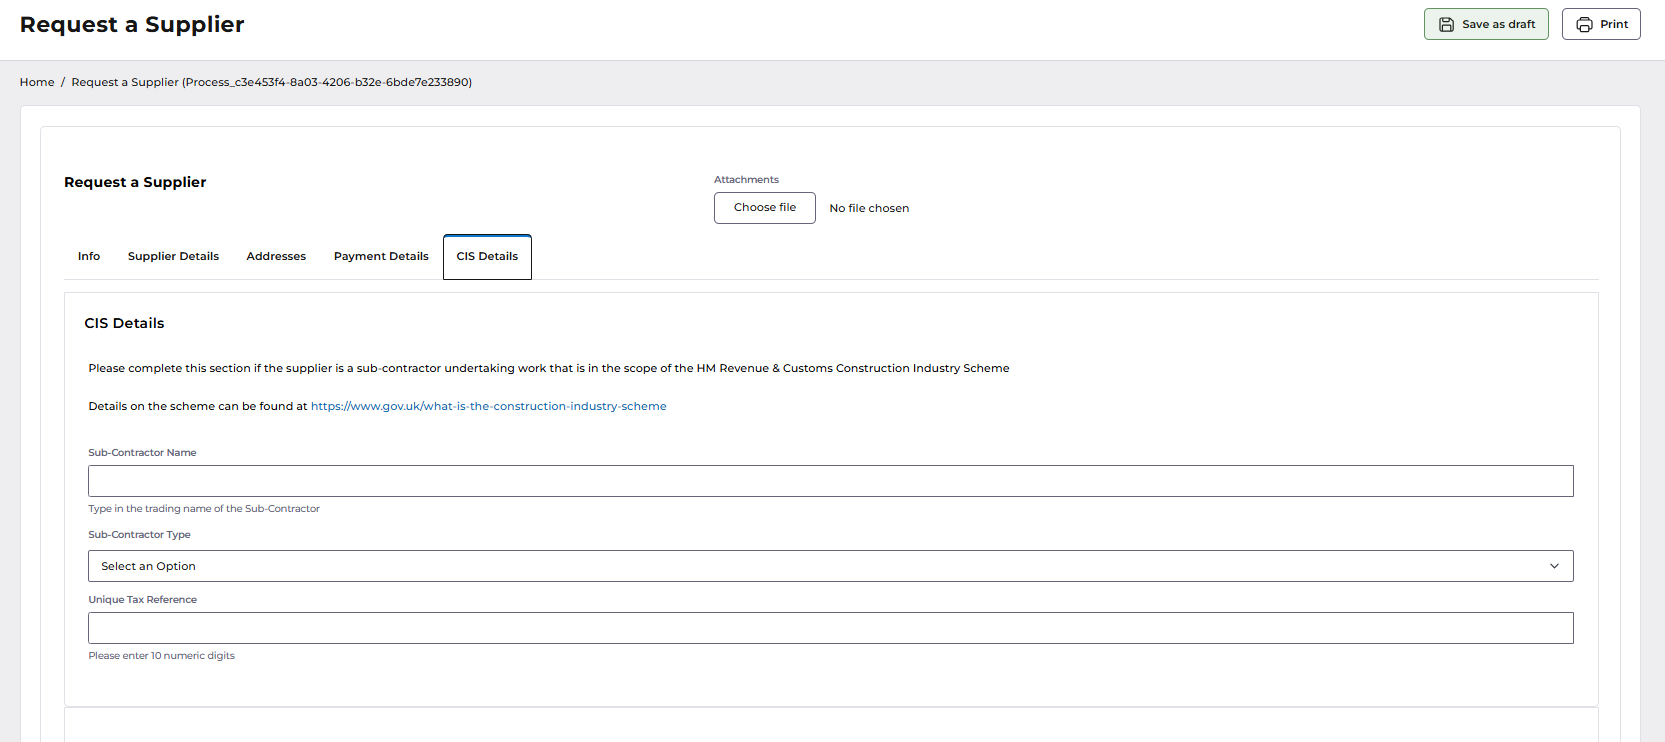
The CIS Details tab can the be entered.
The following fields require an entry.
- Sub-Contractor Name
- Sub-Contractor Type
- Unique Tax Reference
- Attachments can be added if required.
File Attachments
Click the Choose a file.. button. Locate your file and click on open to attach the document.
Locate your file and select open, the file will then be attached.
Once complete, select the Finish button to send the new supplier form for approval.
The supplier request will then be sent for approval.

Save as Draft
The form can be saved as Draft at any point during the creation, the form will not be submitted for approval.
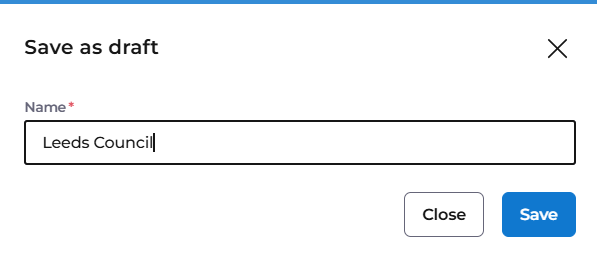
Enter a name and click on the Save button.
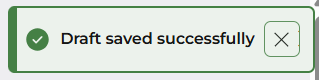
A message is received to indicate the draft is saved.
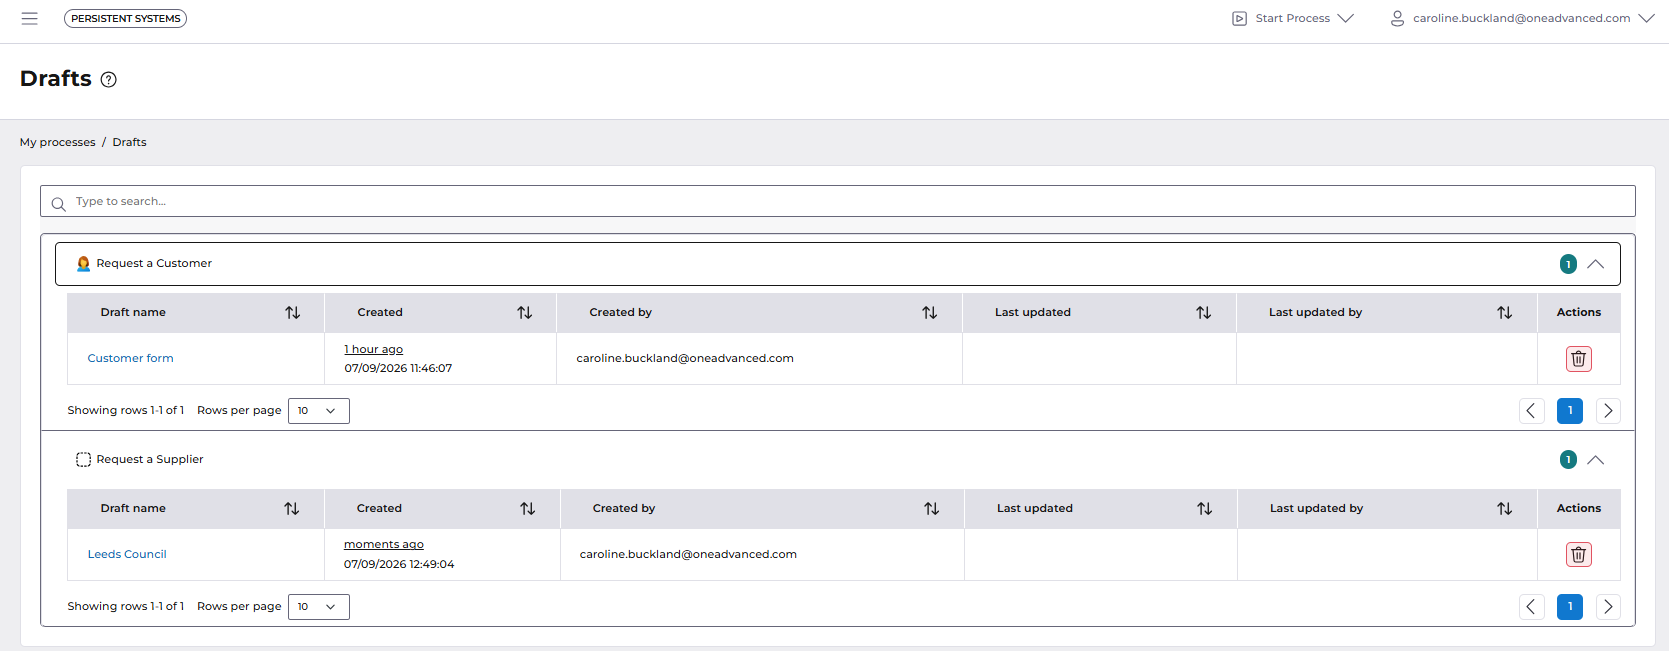
To access the drafts, select the Drafts menu option.
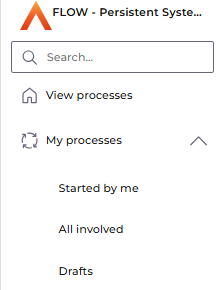
All draft forms will be displayed.

Select the link hyperlink to load the draft. You also have a delete icon in the Actions menu to delete the draft.
After selecting the hyperlink, complete all fields as explained above and click on the Finish button.
A message will be displayed to indicate the request has gone for approval.
The approver will receive an email.
Approval
Approval of the request can be via the email by clicking the link
Email link – click on the link to view the approval task.
Click on Claim to allow the approval. Tasks can always be unclaimed if claimed incorrectly.
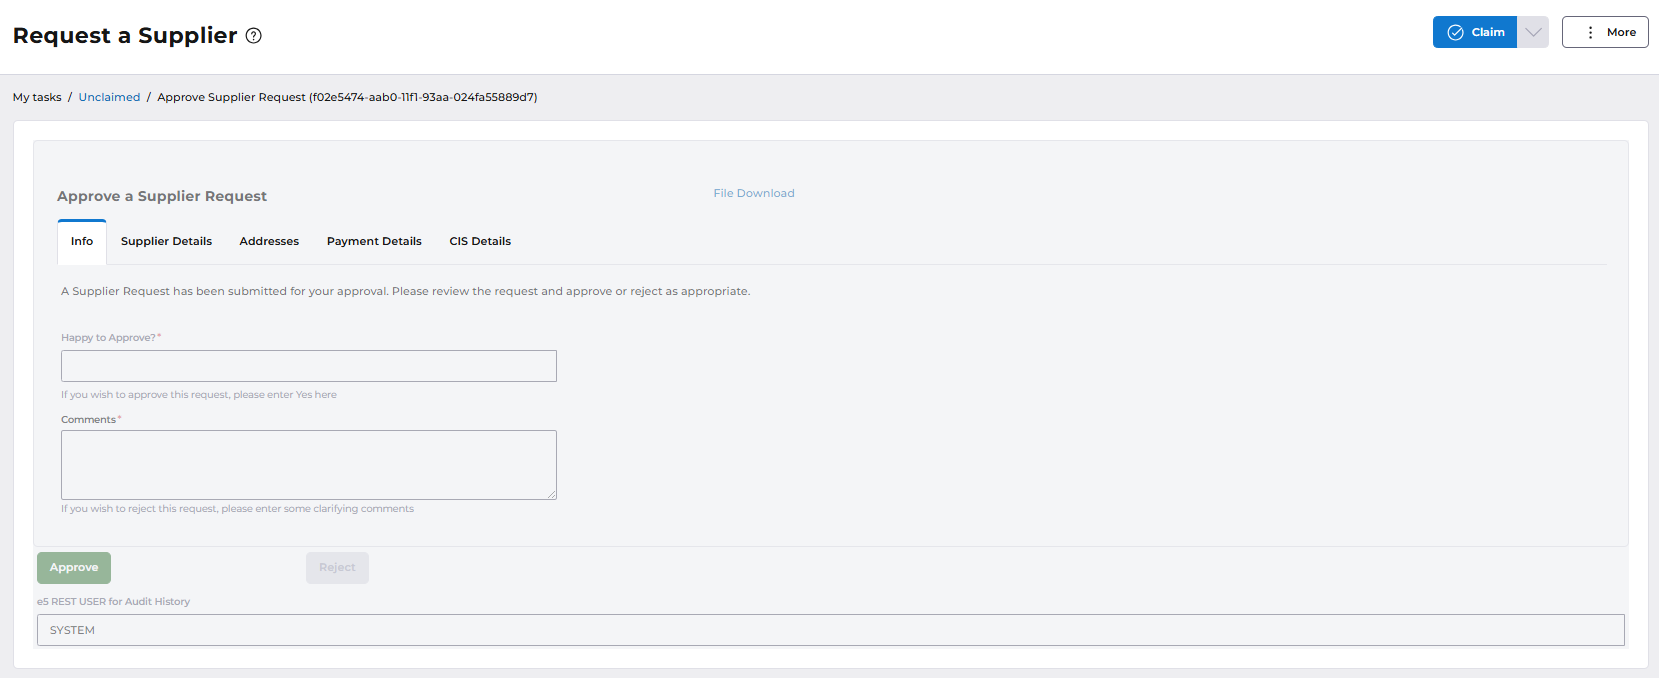
A message is displayed to say the task has been claimed.

Check all the tabs and the information is correct. You will need to enter the code that will be used in Financials. Make sure this is within you coding policy for your organisation.
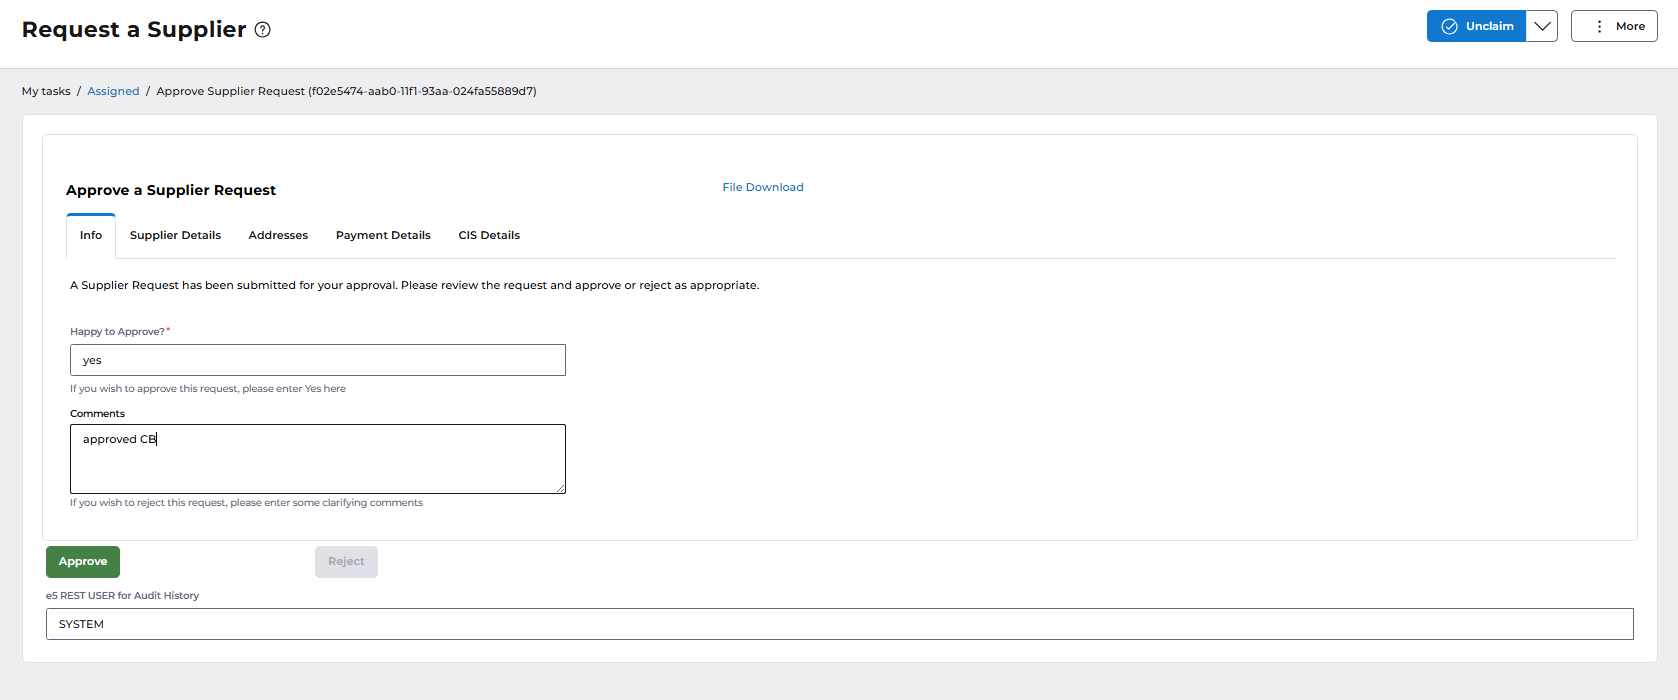
Once complete the supplier can be approved. Access the Info tab and enter a comment in the Happy to Approve box on the info tab and then click on the APPROVE button.
A message will display to say the approval was successful.

An email is sent to the requester to confirm the approval.
Reject a Request
To reject a supplier, enter the rejection comments then the Reject button becomes available and No in the Happy to Approve box.
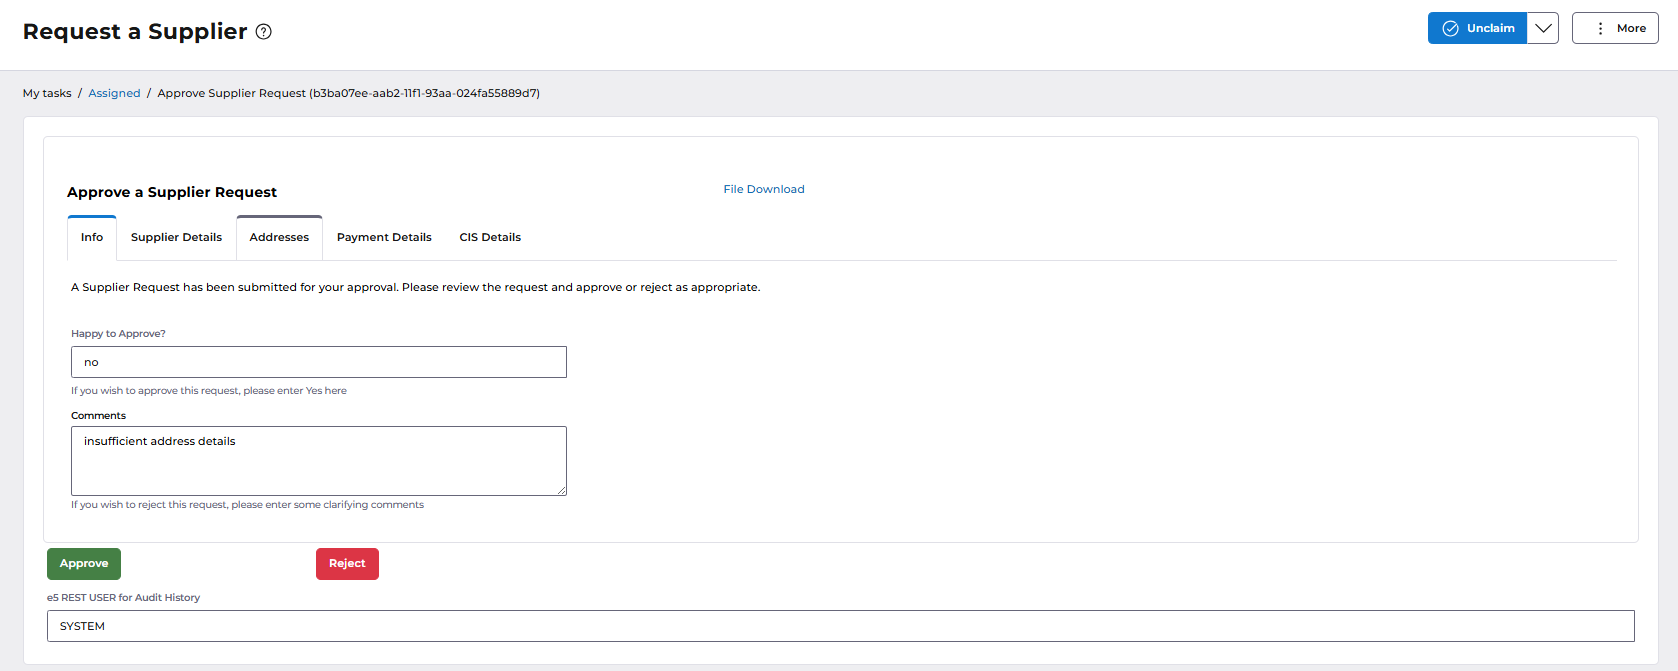
A message is displayed to say the task is complete.

An email will be sent to the requester.
Either click the email link or locate the task in task manager.
Make any requested changes and you can then Re-submit, or select Cancel to cancel the request.
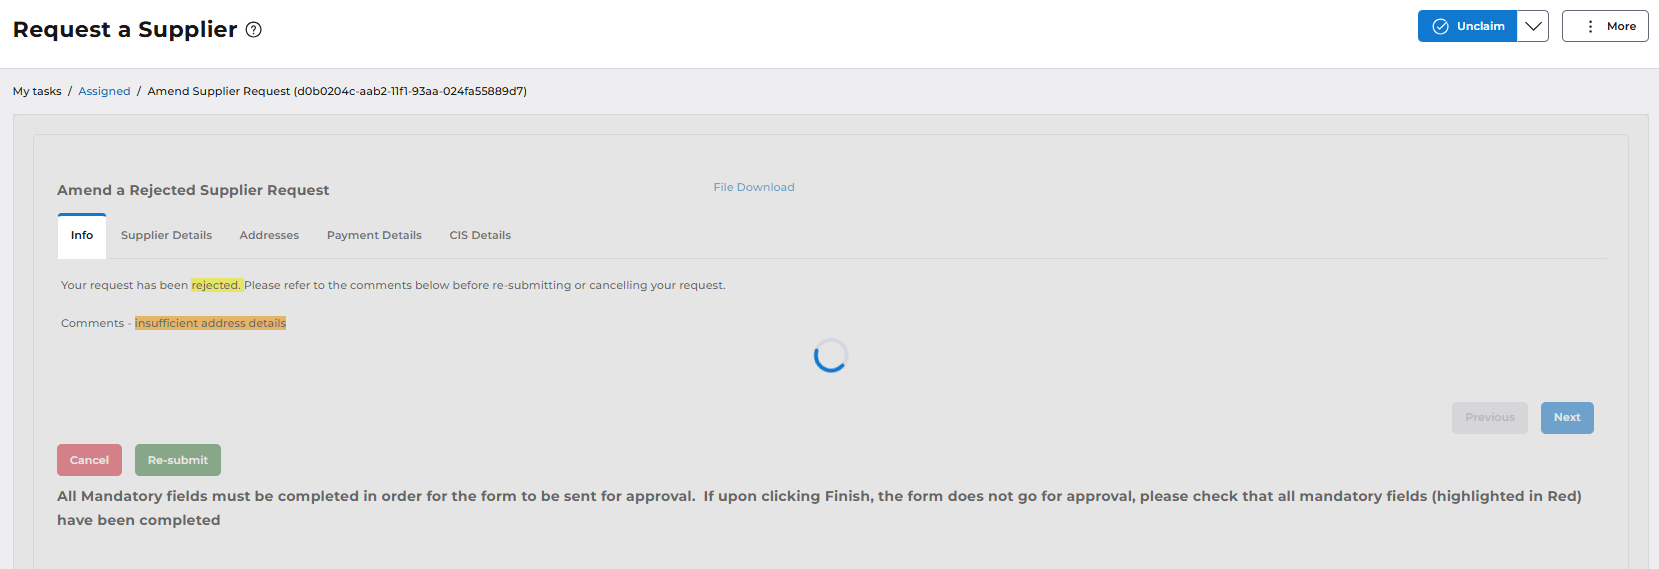
The supplier request will go back through the approval route.
Clicking on the Cancel button will end the process and the form will no longer be in use, the following message will be displayed.

